【Lightroom 教學】利用 Profile 一鍵造出濾鏡效果
手機上近乎全部修圖 APP 都有濾鏡 (Filters) 功能,方便非常;但手機「執相」APP 有個致命的缺點,就是編輯後,相片的畫質會大幅下降,對講求畫質的用家們來說,無疑是個痛點。
而手提或桌上電腦的修圖軟件如 Adobe Photoshop 及 Lightroom,總給人操作繁瑣的感覺。近年來,電腦上的修圖軟件已朝手機的便捷方向而行。 像今次介紹的 Adobe Lightroom Profile 功能,只要一個按鍵,便可造出濾鏡的效果,用家還可把 Profile 的濾鏡效果一次性地應用在大量相片上。
長話短說,即時動手吧!
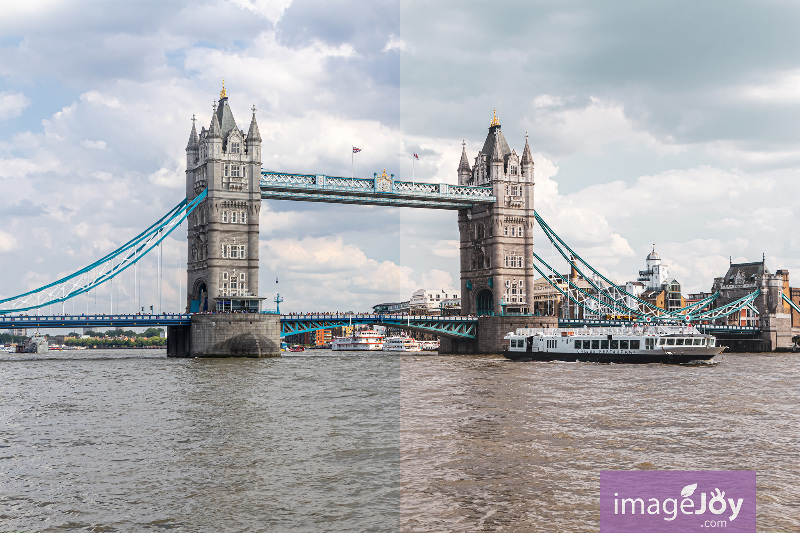
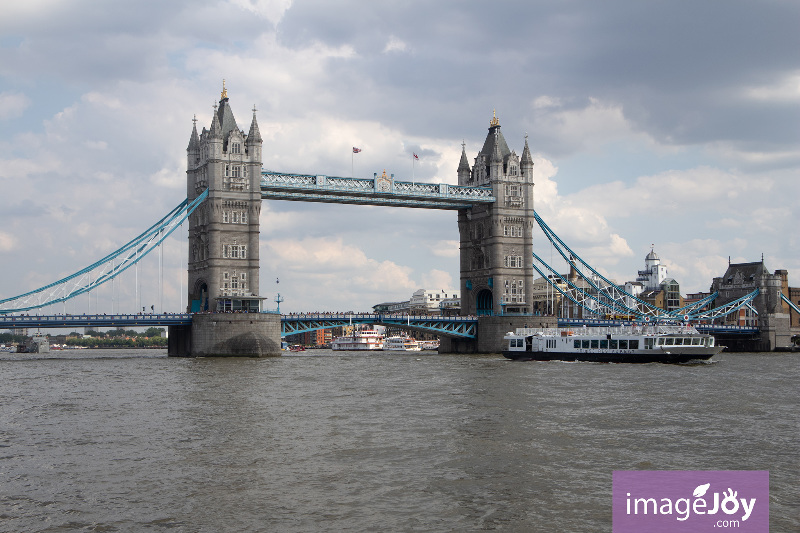
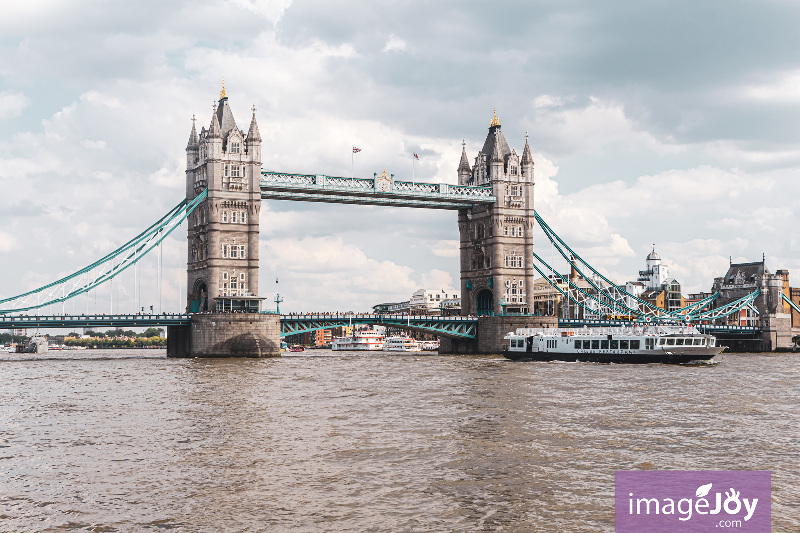
先來看未經任何修改的照片,色澤較暗淡,反差較弱,較沉悶。
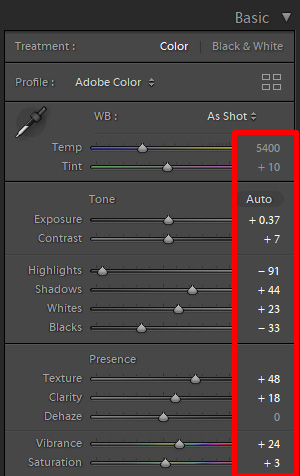
小編習慣先調好照片的明亮、對比、飽和、銳利度等,最後才使用 Profile (濾鏡)。
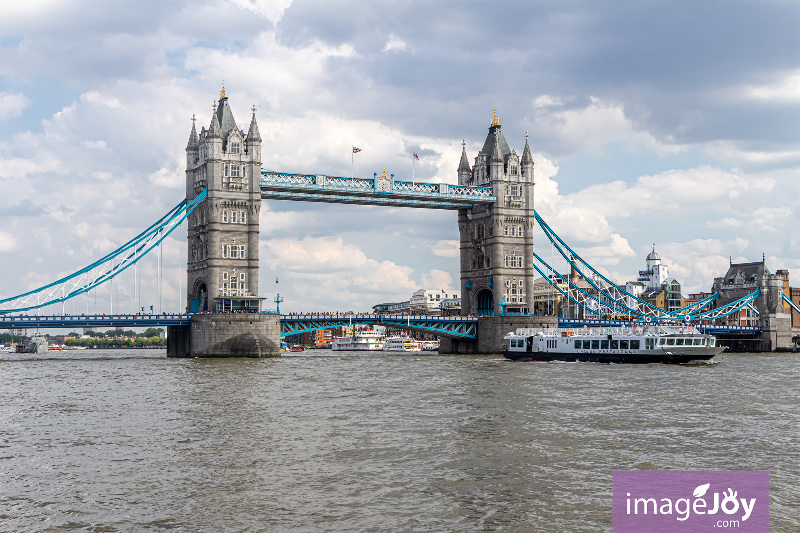
經過基本的調色及設定,相片比原本的活龍活現得多。
Profile 設在在哪?
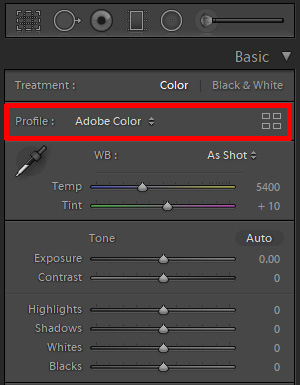
進入「Develop」(修改照片) 模組後,於Basic (基本) 調整面板的最上方,可以找到 Profile 的設定及其按鈕 (4 個長方型的圖示)。
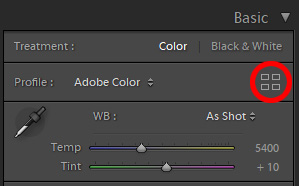
按下 Profile 按鈕,進入它的設定面版。
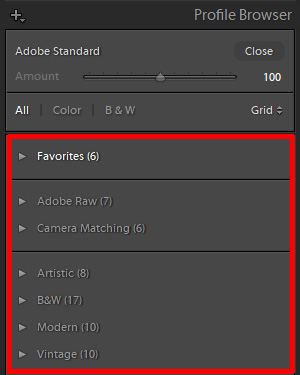
可以看到不同類別的 Profile 濾鏡,有Artistic (藝術)、B&W(黑白)、Modern (現代)和 Vintage (復古)。
括弧內的數字代示該類別擁有的 Profile 濾鏡數量。
Adobe Raw 及 Camera Matching 是組比較特別的 Profile 濾鏡,只有照片是 Raw 格式時,才會顯示。
使用此組 Profile 濾鏡時,Lightroom 會讀取 Raw 檔裡的曝光及相機的資訊等而作出修改。
至於 Favorites (我的最愛),就是被打星的 Profile 濾鏡,容後再說明。
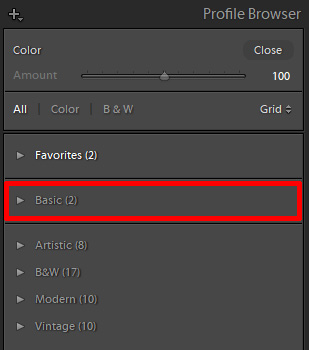
上圖是修改 JPEG 照片時,Profile 面版的模樣。可以看到,Adobe Raw 及 Camera Matching 不見了,取而代之的是 Basic (基本) Profile。
打開 Profile 濾鏡文件夾後,可以看到不同 Profile 濾鏡的預視縮圖。
嫌縮圖太少?只要把滑鼠移到縮圖之上,中間的大圖便會實時顯示濾鏡的效果。
對結果滿意的話,在 Profile 預覽圖上按一下便可。
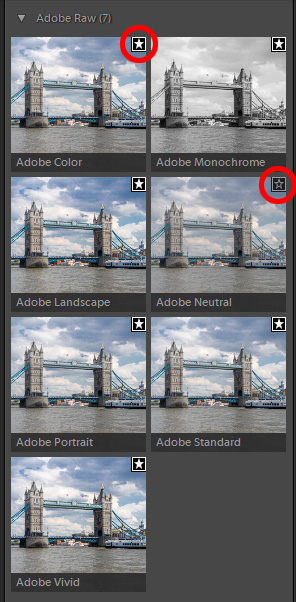
上圖中,有些預覽圖右上方的星星被選取了,這些 Profile 濾鏡會同時出現在 Favorites (我的最愛) 類別。
上方是 Adobe Raw 的 Profile 濾鏡,看看其餘的濾鏡吧!
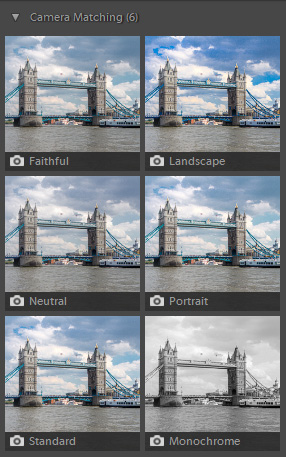
這是 Camera Matching 類的 Profile。
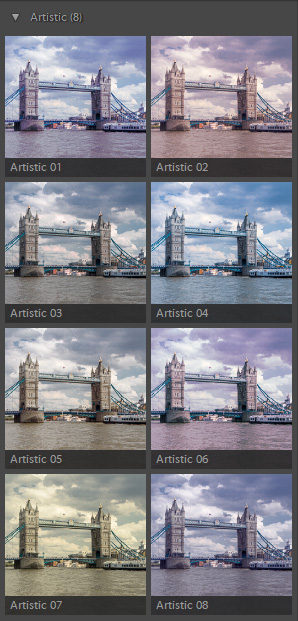
Artistic (藝術) 的濾鏡較為浮誇。

沒想到 B&W (黑白)濾鏡的家族是如此龐大。
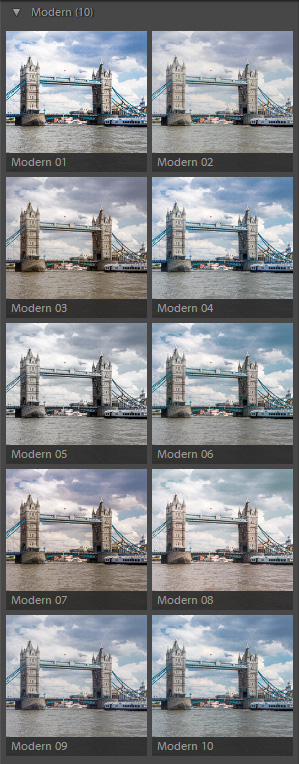
現代 (Modern) 則是小編最愛的類別,既有格調也不太俗氣。
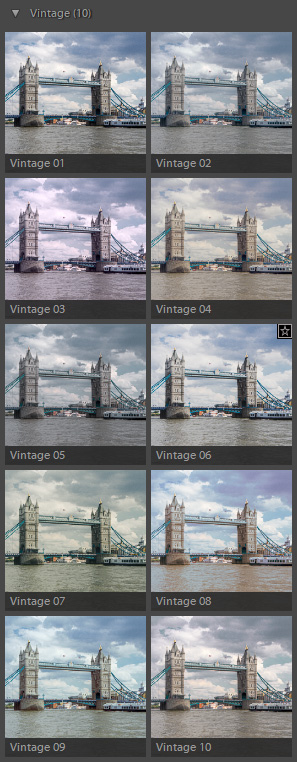
Vintage (復古)的 Profile 也不錯呢!。
最後小編選了 Modern 08 的 Profile。
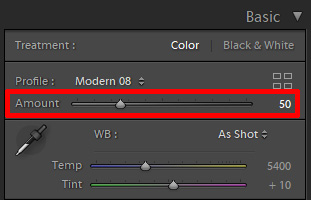
預設的 Amount (強度) 是 100,大家也可以自己增加或減少,最大值為 200,最少值為 0。
就算離開 Profile 版面,大家依然可於 Basic (基本) 面版調較 Profile 濾鏡的強弱。
有一點很重要,就是應用 Profile 濾鏡後,曝光、對比度、飽和度及其他調整項目都是不變。
這點有別於 Presets (預設集),Presets 會改變某些調整項目的值。
讓我們把 Modern 08 Profile 的強度減半,即是把 Amount (強度) 減至 50。
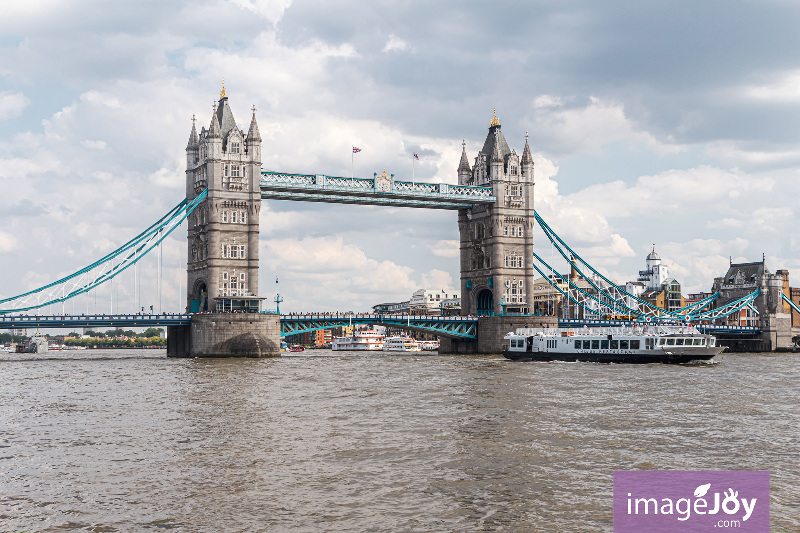
濾鏡效果被減弱後,既能提升照片的韻味,也沒有明照的濾鏡痕跡。
相反,把強度增至 150 後,效果如上,頃刻令照片鶴立雞群。
看似長篇大論,其實步驟只有一個,就是選擇 Profile 濾鏡,頂多多添拖拉強度的步驟。
其他文章

稻城亞丁10 ● 雪山初現
我想車子也走了二、三句鐘,忽然眼前一亮,「雪山,那是雪山嘛?」大家都問著同一問題,雪白的山峰越來越大
【中文字型】自由香港字型免費下載
在 2016 年的冬至,「自由香港字型」誕生了,一套屬於香港人的免費開源字體。 為什麼它被叫作「香港字型」?
東龍島 - 老人與海
談到大海,很自然就會想起《老人與海》這部寫於大戰後的小說,「一個人可以被毀滅,但卻不能被打敗。」